Making a DAW Sound Analog: A Dive into Tube Pre-Amps, Tape Saturation, and Studio Pfütze Adventures
Making a DAW sound analog takes more than just slapping on some plugins—it requires a good dose of empathy for the world of tube pre-amps and tape saturation. I’m currently on the seventh version of a reference track template, which I plan to apply to the other songs in the project.
Never before has it been so clear to me how much a mix depends on its genre—and how certain tools are either indispensable or completely unnecessary.
Just last summer, I dove headfirst into an electronic beat project where I threw every trick in the book into the pot—most of them gleaned from countless YouTube tutorials. Now? I’m in the process of decluttering my entire production workflow.
I also realized that electronic beats and I are not exactly a match made in heaven. In fact, I pulled the tracks from online platforms altogether. It’s easy to mistake „creativity“ for obsessing over a sonic aesthetic—spending hours tweaking the kick and bass while leaving the composition and arrangement in the dust.
So yeah, better leave that alone. After all, I’m more of a „rocker“ at heart—a guitarist who’d rather bring a six-pack of beer to band practice and crank up the gain than spend hours perfecting the kick drum.
Back to basics, then. Back to what I actually know how to do. No more getting lost in the endlessly inflationary world of synth sounds and samples.
A crucial tip here: focus on your mix bus *after* getting the individual tracks balanced. The mix bus ultimately decides how everything sounds as a whole. It’s like finding your sonic compass—setting the overall tone.
The first tool I grab? A trusty Pultec EQ.

The beauty of the Pultec is that as soon as you patch it in, it adds a lovely, almost spatial warmth to your sound. Right out of the gate, it gives you what you need most at this stage: control over the bass and treble ranges.
Here, we’re aiming for a balanced low end and silky highs without nerding out too much with something like FabFilter’s Pro Q3 dynamic EQ. Instead, it’s all about intuition and musicality—getting a pleasing foundational sound with just a few knobs. The Attenuation knob helps tame those sharp upper mids, and, if you want, you can use the famous „Pultec trick“ to carve out a dip in the muddy lower midrange.
Speaking of the midrange—it’s where the magic happens. This is the heart of the sonic image and ensures your mix translates well across all playback systems: hi-fi setups, desktop speakers, and yes, even your phone. If it sounds good on all three, you’ve nailed it.
For the midrange, I turn to the Pultec MEQ-5, which focuses solely on the lower and upper mids.

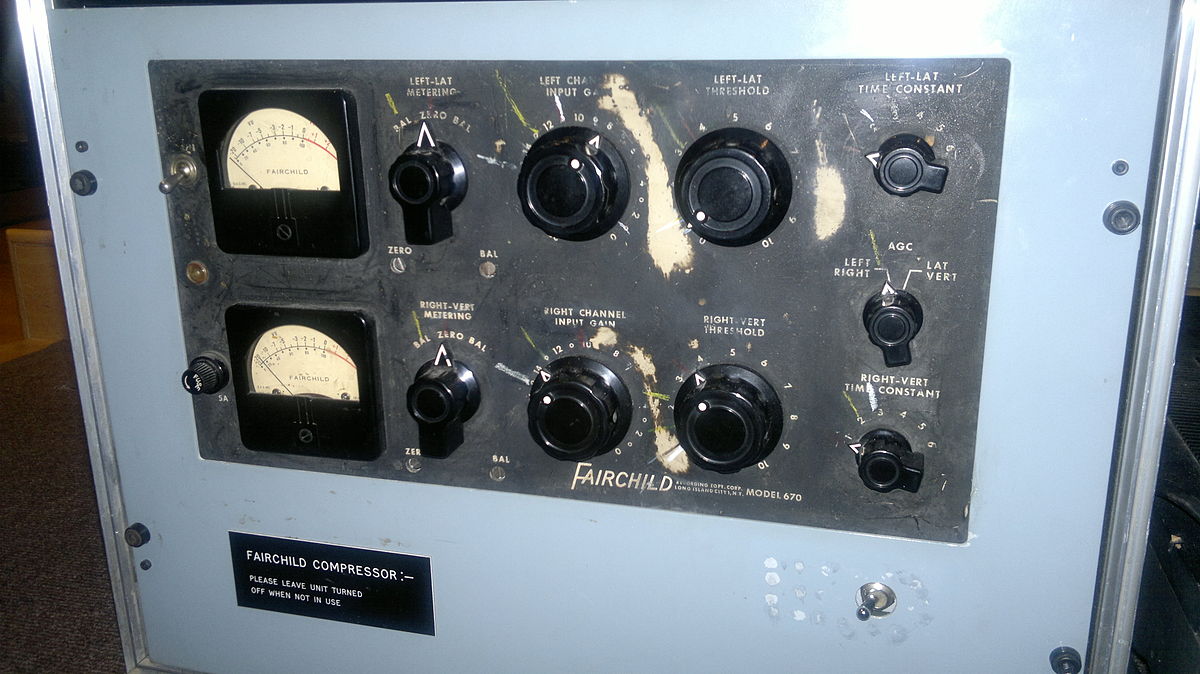
Once we’ve reached a pleasant listening experience, it’s time to add that final touch of „glue“—that irresistible cohesion that makes the overall sound feel unified. For me, the choice was easy: no fancy modern mix bus compressor with endless attack and release settings to fiddle with. Instead, I turned to the legendary Fairchild 670 compressor. Its musicality shines, and playing with its tone-shaping possibilities is just plain fun.

Working with the Fairchild does require a bit of patience, though—it doesn’t behave like your average compressor. And those tiny knobs? They can make all the difference.
And that’s the latest from Studio Pfütze! Back to sound production—it’s full steam ahead to get the upcoming album, *frankieband – swings*, ready for release this spring.
